How to Photograph and Archive Your Finished Coloring Pages
A practical routine for photographing, organizing, and safely storing your finished coloring pages so the colors stay true and the pages stay protected.
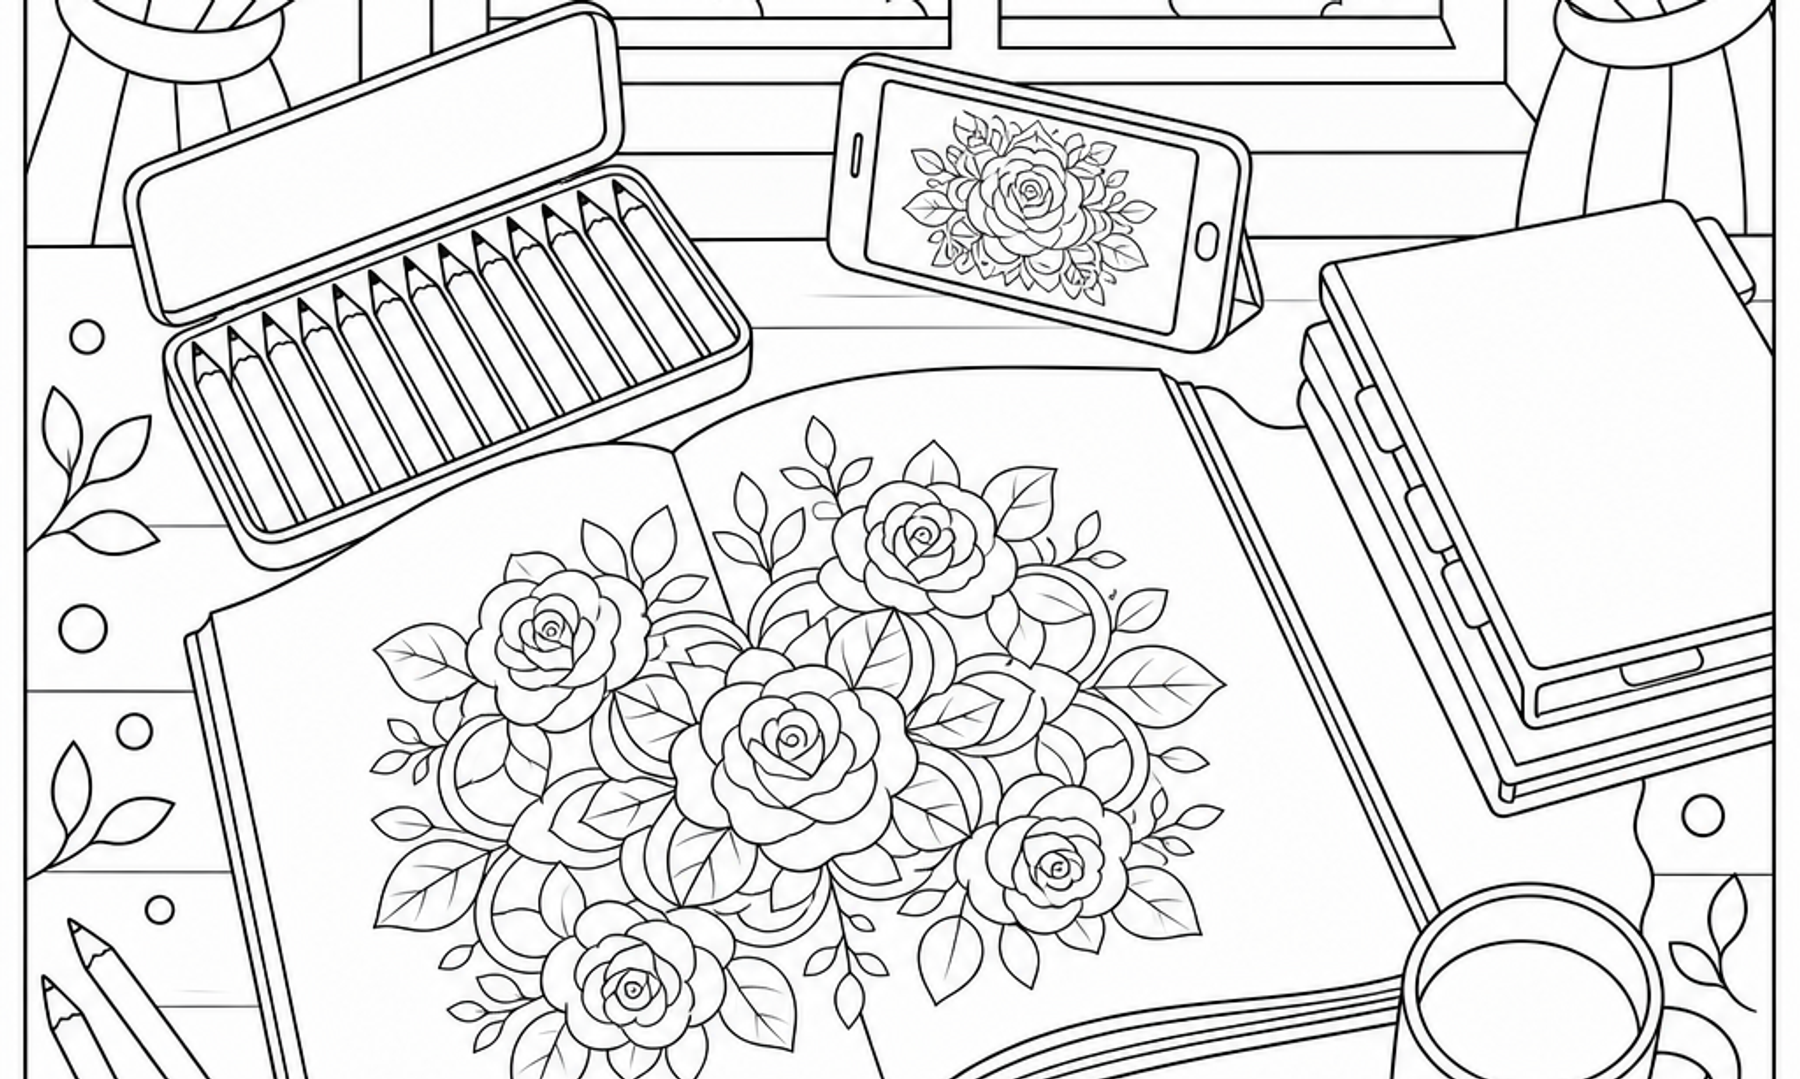
There's a particular satisfaction in finishing a coloring page. The last petal is shaded, the pencil goes back in the tin, and for a moment you just look at what your hands made. It's worth protecting that moment, not just in memory but in a photo and a storage system that will still look good a year from now. This guide walks through a simple, repeatable routine for photographing and archiving your finished pages.
Why Bother Archiving a Coloring Page
A coloring page is a small, low-stakes piece of work, which is part of its appeal. But low-stakes doesn't mean disposable. Many colorists like to look back on a year of pages and notice how their color choices, pencil pressure, or pattern preferences have shifted. Others want to share a finished piece with a friend or post it without the glare of a phone flash ruining the photo. And some pages, especially ones layered carefully with colored pencil, are simply worth keeping flat and undamaged.
According to the Library of Congress Preservation Directorate, paper deteriorates faster with light exposure, fluctuating humidity, and acidic contact, and "good storage significantly prolongs the preservation of paper materials." Their guidance is written for archival collections, not a page you colored last Tuesday, but the underlying principles (keep it flat, keep it out of direct light, keep acids away from it) scale down nicely to a home coloring habit.
Setting Up a Simple Photo Routine
You don't need a studio. A table near a window and a few minutes of attention will get you a photo that actually looks like your page.
Light
- Use soft, indirect daylight rather than a lamp or flash. Position your page near a window but out of direct sun, which can wash out colors and create harsh shadows.
- Overcast days are surprisingly good for this. The light is even and diffused.
- Avoid mixing light sources (a window plus an overhead bulb), which can shift color temperature and make your photo look slightly off, with warm and cool patches.
Angle and Surface
- Shoot straight down at the page, not at an angle, to avoid distortion.
- Place the page on a plain, neutral surface. A dark page needs a light background and a light page needs a darker one, so the edges are easy to see later if you crop.
- Smooth out any curling before you shoot. A book or two placed just outside the frame can hold the corners flat without touching the colored area.
Camera Settings
- Turn off flash. It almost always flattens texture and bounces glare off pencil wax or marker ink.
- If your phone has a grid overlay, turn it on and align the page edges with the grid so the photo is level.
- Take two or three shots and pick the sharpest. Small hand movements are more noticeable in close-up photos than you'd expect.
Thinking About Color and Composition Before You Shoot
The J. Paul Getty Museum's framework for formal analysis describes color through three characteristics: hue, value (how light or dark), and intensity (how bright or dull). It's a useful lens to apply to your own finished page before you photograph it. A page with a wide range of values, some very dark shading next to untouched white paper, will photograph with more depth than a page where everything sits in a similar mid-tone. If you notice your photo looks flatter than the page feels in person, it may simply be a value issue rather than a camera problem, and it's worth knowing that this is a visual trait of the piece itself, not something you did wrong.
The same source notes that line can lead the eye through a composition, and texture describes the surface quality of a work. Worth keeping in mind when composing your photo: let the lines of your coloring page guide where you crop, and don't be afraid to get close enough that texture (the grain of the paper, the sheen of a blended area) is visible.
Paper choice affects how much of that texture shows up in a photo, too. Colored pencil artists interviewed by Legion Paper described texture and layering capacity as the most important qualities they look for in a surface, noting that "there's no substitute for experimenting yourself" when testing how a paper holds pencil layers. That's a working-artist preference rather than a universal rule, but it's a reminder that a toothier paper will catch light differently under your camera than a smooth one, and it's worth noticing which surfaces you tend to reach for.
Editing Lightly, Not Heavily
Once you have a clean, well-lit photo, light editing can help it match what you saw while coloring:
- Adjust brightness slightly if the photo reads darker or lighter than the real page.
- Crop square to the edges of the paper, removing background clutter.
- Avoid heavy saturation boosts. They can make colors look artificial and inconsistent from page to page, which matters if you're building a photo archive you want to compare over time.
- Keep an unedited original alongside any edited version, in case you want to revisit the true colors later.
Organizing Your Digital Archive
A simple folder structure saves a surprising amount of frustration later:
- By date: a folder per month or year, named plainly, so pages sit in the order you made them.
- By book or theme: useful if you tend to work through a specific coloring book cover to cover.
- A single master folder with consistent file names: something like "2026-03-ferns-pencil.jpg" tells you the date, subject, and medium at a glance, without opening the file.
Back up your photos in at least one place beyond your phone, whether that's cloud storage or an external drive. Phones get lost, dropped, or replaced, and a photo archive with no backup is really just a hope.
Storing the Physical Page
After the page is photographed, how you store the original matters if you want it to last. The Library of Congress recommends keeping paper in a cool, relatively dry, stable environment, away from direct or intense light, and using acid-free folders or polyester sleeves for extra support. For a coloring page, that translates to a few manageable habits:
- Store finished pages flat rather than folded, in a drawer, box, or binder with plastic sleeves.
- Keep them out of direct sunlight and away from radiators or vents, where heat and dryness can make paper brittle.
- Avoid paper clips, tape, or rubber bands directly on the page, since these can leave marks or cause creasing over time.
- If you're storing many pages together, acid-free dividers can help keep more acidic papers from affecting neighboring pages, though this is only worth the extra step if you're keeping a large or long-term collection.
None of this requires museum-level conservation. It's simply a matter of giving a page a flat, stable, dry home instead of a crumpled spot in a bag.
A Quiet Routine Worth Keeping
Photographing and archiving a finished page can become a small closing ritual, the last few minutes of a coloring session rather than an afterthought. Some colorists find that pausing to notice the light, the colors, and the finished composition echoes the kind of present-moment attention described in mindfulness guidance from NHS Every Mind Matters, which emphasizes noticing the shape, color, and texture of objects around you and appreciating the present moment. That's a general wellbeing practice, not a claim about what coloring itself does, but it's a nice frame for the handful of minutes this routine takes.
It's also worth being precise about what this kind of routine is and isn't. The American Art Therapy Association distinguishes recreational coloring from art therapy, which is a mental-health profession practiced by credentialed clinicians, and notes that coloring books are meant for "recreation and self-care" rather than clinical treatment. Coloring can be a self-care activity, but it is not art therapy or a substitute for mental-health care.
Keep Your Pages, Keep Coloring
A good photo and a flat, protected storage spot mean your finished pages stay yours to revisit, long after the pencils go back in the tin. Set up your little photo corner, pick a simple folder system, and let your archive grow one page at a time. The next blank page is waiting whenever you're ready for it.